8.8. pytest持续集成
8.8.1. 安装python环境
https://www.python.org/ 推荐安装python3.6以上版本
8.8.2. 推荐安装以下第三方类库
pip3 install requests pip3 install pytest pip3 install pytest-allure-adaptor pip3 install pytest-html
或者 pip3 install requests pip3 install pytest-html pip3 install pytest pip3 install allure-pytest
Warning
pip下载python包是从(https://pypi.python.org/) 下载的,pypi服务器在国外,因此国内访问可能速度会比较慢,但使用时可以指定国内源,也就是从国内的镜像服务器下载如使用清华的源: pip3 install requests -i https://pypi.tuna.tsinghua.edu.cn/simple
Warning
亲测发现pytest-allure-adaptor和allure-pytest会存在冲突,个人比较推荐使用第二种模式
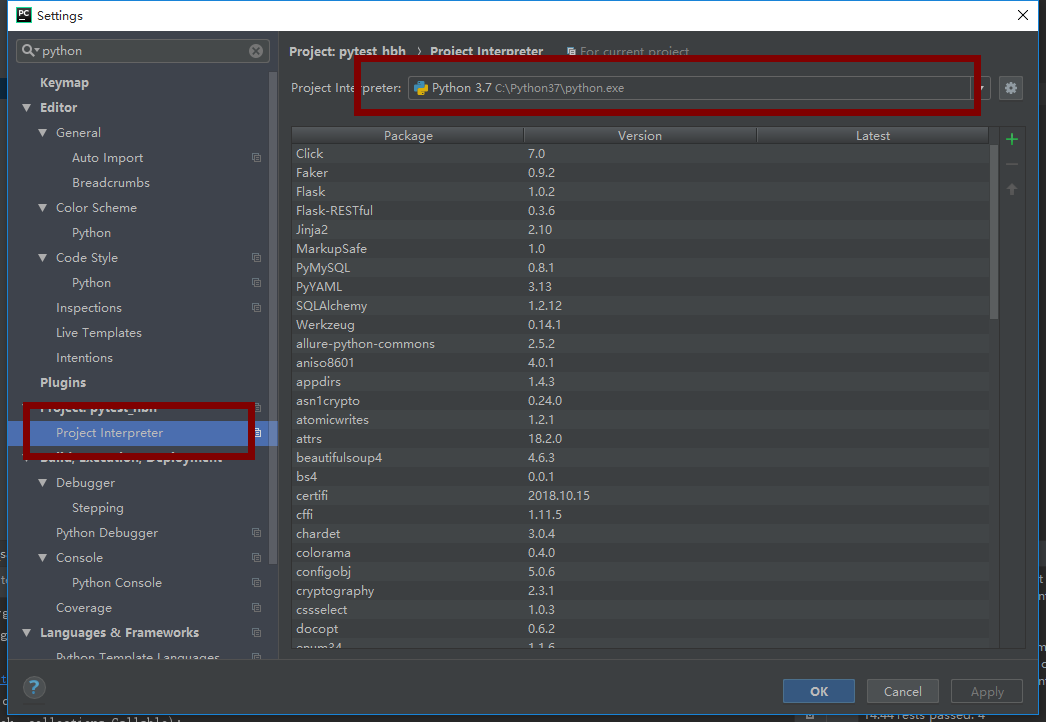
8.8.3. 安装Python IDE pycharm
推荐安装专业版,破解注册码:http://idea.lanyus.com/
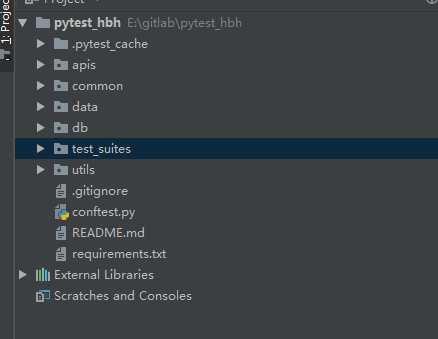
8.8.4. 构建Python项目
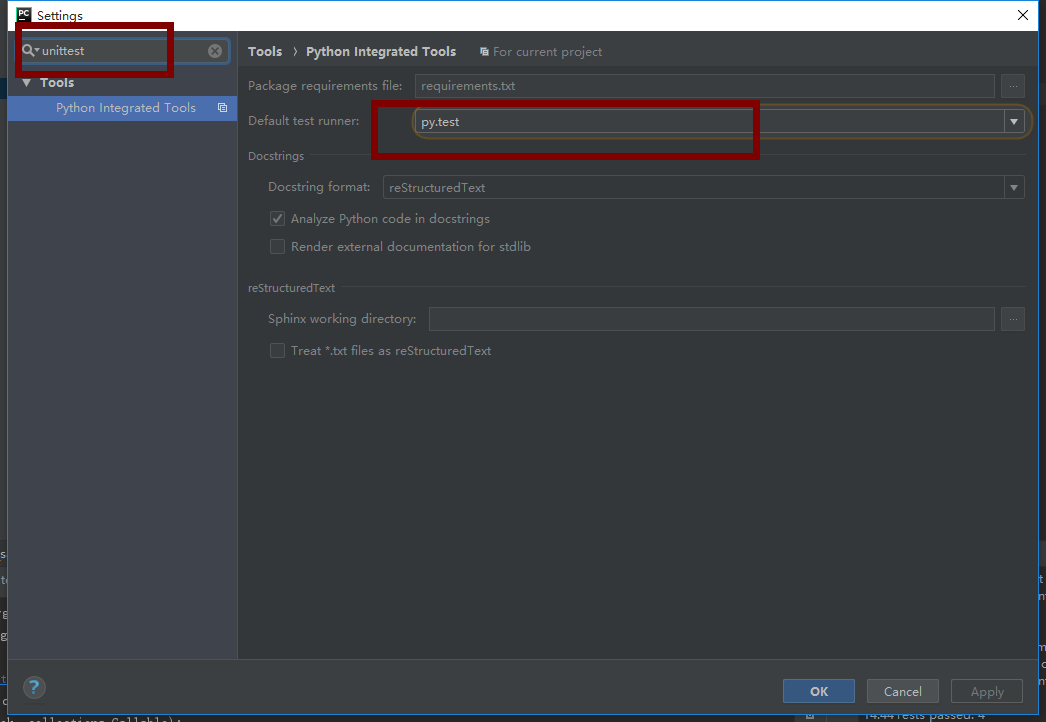
8.8.6. 通过pytest自动化测试框架编写接口自动化测试
pytest基础教程:
https://www.jianshu.com/p/a754e3d47671
https://lvjunjie.cn/qa-study/pytest/index.html
pytest官方文档: https://docs.pytest.org/en/latest/
8.8.7. 搭建持续集成
- 通过Jenkins下载allure插件
- 配置构建项目时添加构建后操作,Allure Report
#. 执行pytest命令时,添加
--alluredir ${WORKSPACE}/allure-results

注:这里可能会有个坑,如果你使用的是pytest-allure-adaptor,经测试pytest和pytest-allure-adaptor会存在着一些版本的兼容性问题,这里我使用过的pytest版本是4.0.2,pytest-allure-adaptor的版本是1.7.10
8.8.8. 生成allure测试报告

allure相关资料: https://docs.qameta.io/allure/#_pytest https://www.cnblogs.com/yrxns/p/8386267.html